valve is leaking Learn how to stop water heater pressure relief valve leaks with our expert tips and advice. Protect your home and ensure your water heater functions properly.
Stop the Leak: Fixing Water Heater Relief Valve Leaks
Is your water heater leaking water and causing a mess? That likely means the relief valve is malfunctioning and needs to be fixed. Relief valves are an important safety feature on water heaters, releasing excess pressure to prevent dangerous explosions. But when they get stuck open, relief valves can leak water and cause damage.
Don’t panic – this common issue can often be repaired DIY. This guide will walk you through diagnosing a leaking relief valve, making repairs, and preventing future leaks. With a few tools and simple steps, you can stop the leak and restore safety. Let’s dive in!
What is a Relief Valve and Why is it Leaking?
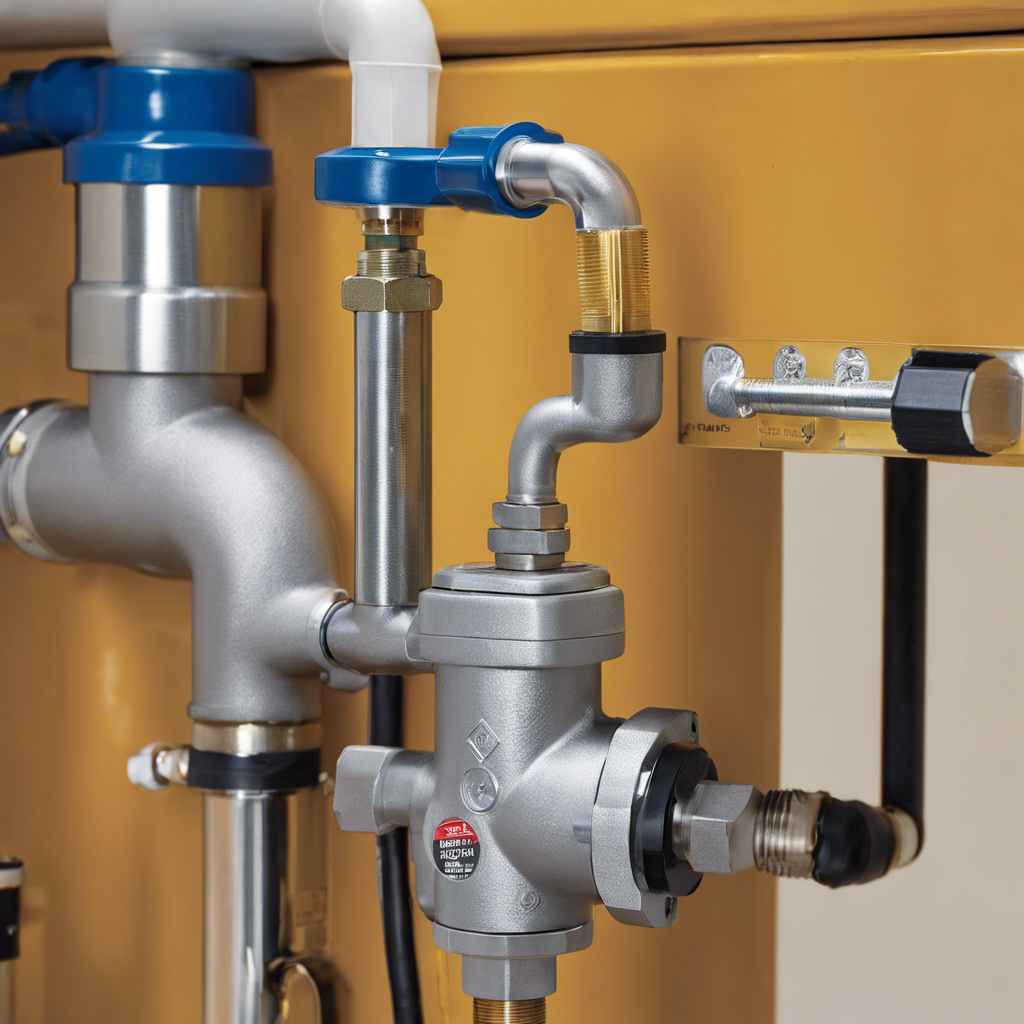
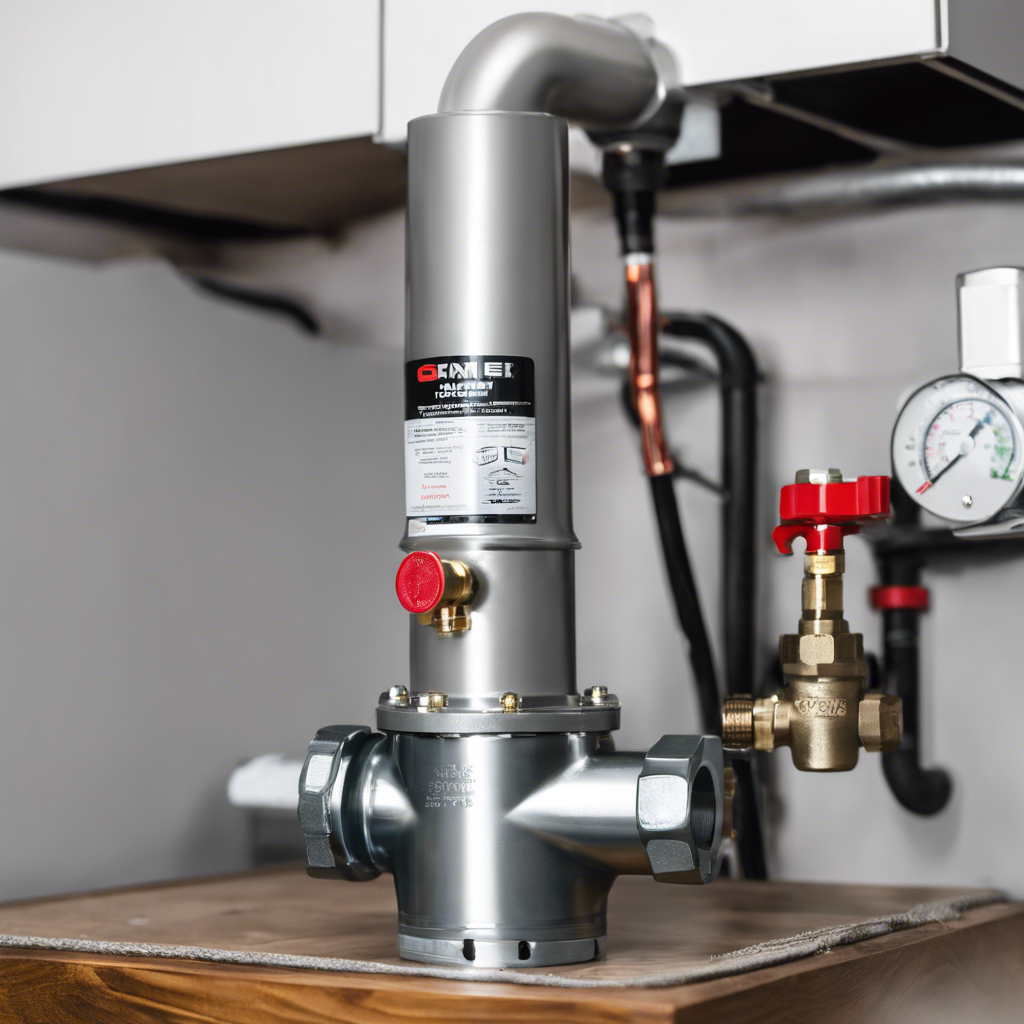
The relief valve, also called a pressure relief valve, is a small device mounted near the top of your water heater tank. It serves as a safety release, opening up to discharge excess pressure if the temperature or pressure in the tank gets too high.
This prevents the dangerous buildup of steam and guards against explosions. The relief valve opens when pressure exceeds the valve’s preset limit, typically 150 psi. Water will trickle out until the pressure drops below that threshold again.
A leaking relief valve usually means the pressure is continually exceeding the limit. This is often caused by:
- Faulty thermostat – A bad thermostat can overheat the water, building excessive pressure.
- Sediment buildup – Mineral deposits and sediment can stick the valve open.
- High water pressure – Excess water pressure entering the tank can over-stress the system.
- Malfunctioning elements – Problems with heating elements can spike pressure.
If the relief valve can’t close properly, water will leak out continuously. This can quickly cause flooding, water damage, mold risks, and a spike in your water bill. So it’s essential to fix it promptly!
Signs Your Relief Valve is Leaking
How can you tell if your water heater’s relief valve is leaking? Here are some common signs of a faulty relief valve:
- Dripping or pooling water – If you notice water dripping, pooling, or puddling around the base of your water heater, the relief valve is likely leaking.
- Lower water pressure – Leaking valves can drain your tank, resulting in decreased water pressure in sinks and showers.
- Noisy tank – You may hear odd gurgling or hissing from the tank as water leaks out.
- High utility bills – A leaking relief valve can substantially increase water usage and electricity/gas to reheat it.
- Wet floor or walls – Leaks often run down the side of the tank, wetting nearby floors or walls. Look for water damage.
If you observe any of these warning signs, inspect the relief valve on your water heater. Look for water dripping from the discharge pipe. Confirm the leak before attempting repairs.
Dangers of a Leaking Relief Valve
While it might seem like just a nuisance, a leaking relief valve can cause some significant problems. Here are some of the dangers to be aware of:
- Flooding damage – Water leaking can lead to warped floors, water stains on walls/ceilings, mold growth, and erosion.
- Scalding hazards – Leaks near the hot tank could spray and burn.
- Plumbing backflows – Leaks can potentially allow contaminants to enter the water lines.
- Property damage – Unchecked leaks lead to extensive damage over time, including mold and rot.
- Higher energy bills – You’ll pay more to reheat all the leaking water. Leaks can add $200+ yearly in many cases.
- Compromised safety – A leaking valve can’t properly regulate tank pressure and temperature.
The longer you allow the leak to persist, the higher your risks. Even small drips add up quickly. So make fixing the relief valve a priority before problems worsen.
Diagnosing the Leak
To pinpoint the cause before attempting repairs, you’ll need to diagnose where the leak is coming from exactly. Follow these steps:
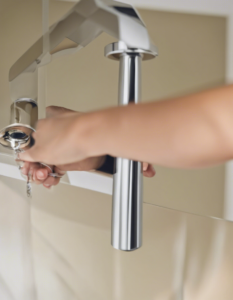
- Locate the relief valve – Find the valve on the side of the upper tank. It has a discharge pipe directing water away from the heater.
- Watch during heating cycles – The leak may only happen when the tank is actively heating. Observe closely.
- Check the discharge pipe – Examine the end of the discharge pipe. Drips here indicate the valve itself is faulty.
- Inspect connections – If the valve looks dry, leaks may stem from loose pipe fittings. Check for drips at threaded joints.
- Test the valve manually – Briefly lift the lever on the relief valve by hand. Water release means it’s engaging properly.
- Consider pressure issues – Use a pressure gauge on your main line to test incoming water pressure. Consistent readings over 80 psi could overload the valve.
Take notes on when leaks happen and where water is dripping from. This will inform the repair approach. Call a plumber if you’re still uncertain of the cause after thorough testing.
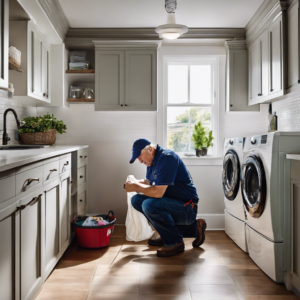
DIY Repairs
Many common relief valve leaks can be fixed DIY without replacing the entire unit. Here are some worthwhile repairs to attempt before calling a plumber:
Replacing the Relief Valve
If diagnostics reveal the relief valve itself is broken, swapping in a new one is the surest fix. Here’s how:
- Switch off power/gas – Turn off heat sources and shut off the cold water intake valve.
- Drain the tank – Open a hot water tap to drain remaining water in the tank.
- Remove old valve – Unscrew the relief valve and detach discharge pipe.
- Install new valve – Screw in the replacement valve, using pipe sealant on threads.
- Reattach discharge pipe – Point pipe towards drain, sloped downward.
- Restore water – Close drained tap, turn water back on, and repower the heater.
Test to ensure the new relief valve doesn’t leak with normal use. Add a drip pan as an extra precaution until you verify it’s fixed.
Adjusting Water Pressure
If high water pressure seems to be forcing the valve open, try lowering pressure.
- Add a pressure-reducing valve on the main home line if pressure exceeds 80 psi. Set it to 50-60 psi.
- Install water pressure regulators on washing machine hoses and other high-flow fixtures.
- Replace old galvanized piping with wider diameter pipes to reduce flow resistance.
- Ensure the water heater expansion tank is in good condition and properly pressurized.
Lowering pressure may allow the relief valve to close completely again.
Flushing the Tank
Sediment buildup is another common relief valve culprit. Flushing the tank removes deposits.
- Drain the tank fully, following the steps above.
- Disconnect inlet and outlet pipes.
- Use a garden hose to flush fresh water through the tank, forcing out debris.
- Reconnect plumbing and refill tank. Test valve operation.
Repeat flushing regularly to prevent future sediment clogs.
When to Call a Professional
While DIY repairs can resolve many relief valve leaks, some scenarios do require a professional:
- If diagnostics can’t determine the leak’s origin, call a plumber for inspection.
- For relief valves that leak again soon after replacements, the problem likely lies elsewhere.
- Leaks from pipes/fittings often need soldering, pipe replacement, or valve realignment.
- Inability to drain the tank fully warrants a plumber’s expertise.
- Major pressure issues or leaks downstream of the tank should be handled by an expert.
Don’t hesitate to call a professional plumber if needed – safety is paramount with water heaters. But many basic relief valve leaks can be tackled DIY.
Preventing Future Leaks
Once your relief valve leak is fixed, take steps to prevent recurrence:
- Lower water pressure if over 80 psi. High pressure strains the valve.
- Flush the tank annually to remove sediment buildup.
- Check valve operation yearly by manually opening the relief valve lever briefly. Water should flow out, then stop when released.
- Replace the relief valve every 2-4 years as part of routine maintenance. Mark your calendar to stay on schedule.
- Insulate hot water pipes to reduce pressure spikes from thermal expansion.
- Maintain stable water temperatures. Excessive heating cycles lead to expanding water volume.
- Update old valves. Newer relief valve designs are less prone to leaking.
- Have a plumber inspect your water heater if reaching 10-15 years old. Flushing, valve replacement, and anode rod checks may be needed.
With attentive maintenance and pressure regulation, relief valve leaks should become far less common. But when leaks do happen, this guide gives you the knowledge to diagnose and repair leaking relief valves independently. Just be sure to take safety precautions against burns, electric shocks, and flooding. With some DIY troubleshooting skills, you can stop the leak and restore peace of mind.
Frequently Asked Questions
What does a leaking relief valve typically look like?
You’ll usually notice water dripping or running out of the discharge pipe protruding below the relief valve on the tank. This signals the valve isn’t closing fully.
What if I have a relief valve leak on my water heater expansion tank?
Follow the same diagnostics steps. If the expansion tank valve itself is broken, it will need replacement. Tanks may also leak if improperly pressurized – have a plumber check tank pressure and connections.
Can I patch or repair a leaking relief valve rather than replacing it?
It’s not recommended. Relief valves contain precision springs and seals that normally can’t be repaired once compromised. Replacement is the surest fix for a defective valve.
My relief valve leaks from the threaded pipe joints – can I fix this myself?
Yes, you can often reseal the leaking joint yourself. Drain the tank and use pipe sealant or plumber’s tape on the threads before reconnecting the discharge pipe. Ensure it points down and away from the tank when finished.
Is it normal for a little water to come out of the relief valve occasionally?
It’s normal for the valve to discharge a small amount of water now and then as part of its pressure regulation function. But more than a few drips indicates a problem needing repair.
What is a pressure relief valve on a water heater?
The pressure relief valve is a safety device that releases excess pressure and temperature inside a water heater to prevent potential explosions or damage to the unit.
How do I know if my pressure relief valve is faulty?
If you notice water pouring from the pressure relief valve outlet, or if the valve is continuously leaking water, it might be a sign of a faulty pressure relief valve.
What should I do if my water heater relief valve is leaking?
If the pressure relief valve on your water heater is leaking, you should immediately turn off the water supply to the heater and seek professional assistance to repair or replace the faulty valve.
How can I troubleshoot a leaking pressure relief valve on my water heater?
You can troubleshoot a leaking pressure relief valve by checking if there’s excessive pressure inside the water tank or if the temperature and pressure settings are within the recommended range. If the issue persists, it’s best to consult a professional for further inspection.
Why is water coming from the pressure relief valve on my water heater?
Water coming from the pressure relief valve could indicate that the pressure inside the water heater is too high, or the temperature and pressure relief valve is malfunctioning, causing water to be released through the valve outlet.
What should I do if my water heater pressure relief valve is allowing water to discharge?
If the pressure relief valve on your water heater is discharging water, it’s crucial to take immediate action by turning off the water heater and contacting a professional to diagnose and resolve the issue to prevent any potential hazards.
Can I repair or replace a leaking pressure relief valve on my hot water heater?
It’s advisable to consult a professional plumber to assess the situation. Depending on the severity of the leakage and the condition of the valve, they will recommend either repairing the valve or replacing it with a new one to ensure the safety and functionality of the water heater.
How can I make sure the pressure relief valve on my water heater is functioning properly?
You can test the pressure relief valve on your water heater by lifting the lever to allow a small discharge of water. If the valve operates smoothly and stops discharging water after releasing the lever, it indicates that the pressure relief valve is working correctly.
What are the signs of a failing temperature pressure relief valve?
Signs of a failing temperature pressure relief valve may include water dripping or leaking from the valve outlet, the valve discharging water intermittently, or the inability to stop the water flow once the valve is activated.
What should I do if my water heater relief valve is continuously pouring water?
If the relief valve on your water heater is continuously pouring water, it’s essential to immediately turn off the water heater and seek professional assistance to inspect and address the issue to prevent any potential hazards or damage to the unit.